How to use - step by step
Are you tired of wasting time and water in your plumbing routine? Look no further! Discover the ultimate trick to save both time and water when checking your overflows. Follow the instructions below to use your Check a Flow.

Step 1
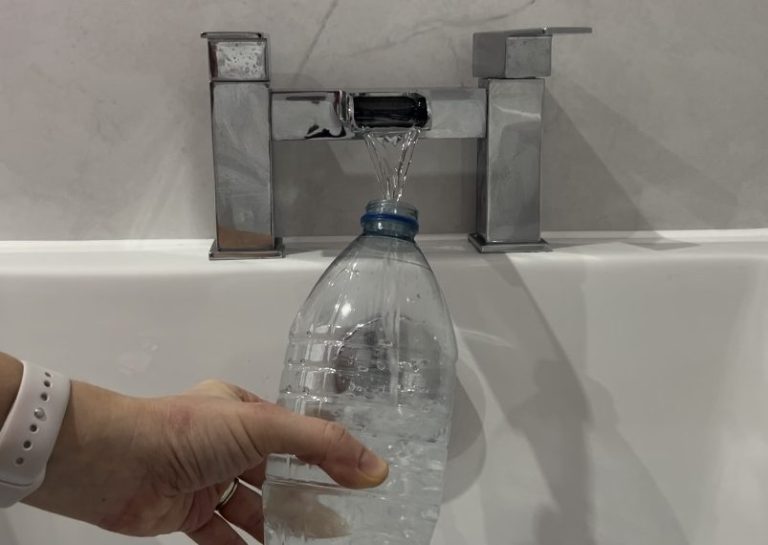
Fill up a bottle of water ready to check the over flow once the Check A Flow is secured in place.
Yes that's right you no longer need to fill the bath/sink up to test the overflow you just fitted.
The test can be carried out using 1-2 litres of water instead of 170 litres.

Step 2
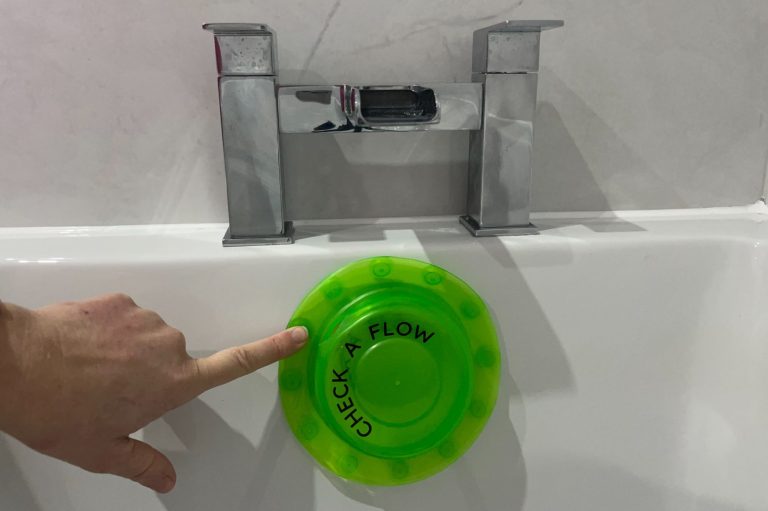
Position the Check A Flow over the overflow and press each suction cup that touches the bath/sink down firmly.
The water hole needs to be positioned at the top, so water can be poured into the Check A Flow easily.
When using Check A Flow with mixer taps is best to position the water hole in the 10 or 2 o'clock position.

Step 3
Pour the bottled water through the water hole and then inspect under the bath for leaks.
Check underneath the bath/sink for any water leakage.
If there is a leak readjust the overflow and repeat step 2 and 3 until there are no more leaks.
Watch our YouTube Video!
We need your consent to load the translations
We use a third-party service to translate the website content that may collect data about your activity. Please review the details and accept the service to view the translations.
